.svg)
To get to the Classes subsection of the Users tab select the Classes item from the second menu list. The following screen appears.
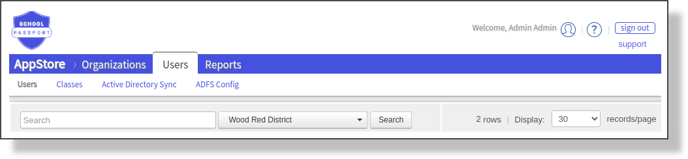
The screen is divided into two parts: search & setting section (same as in Users tab), Selected classes section.
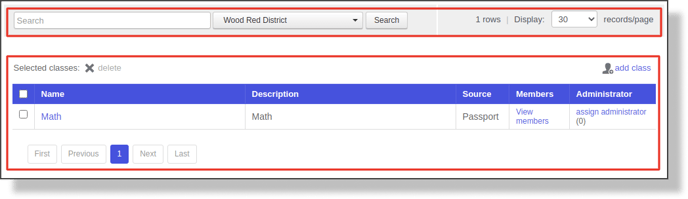
In the Selected classes section, the table of the classes belonging to the chosen organization is displayed. On this screen you can add new classes, edit existing ones, manage their members (including administrators), and delete classes.
Adding Classes
To add a Class:
- Click the Add Class link (person icon).

- The Add Class screen will appear. Fill in the information.

- Click the ADD CLASS button to finish adding the new class. The new Class will appear in the table of Classes.
Editing Classes
To find the Class you wish to edit, browse through the table of names in the Classes table or use the Search function above the table. Once the correct Class is located, one can view or edit that Class’ information by clicking its name.
Clicking a Class' name opens the Update Class screen with the Class’ current information displayed.

In this screen, you can either view the existing information without making any changes or edit some or all of the following: Class name, Class description, External ID (Passport).
When finished, click UPDATE CLASS to save the changes, close the popup, and return to the Classes screen.
Managing Class Members
To view or remove user(s) assigned to a Class, click the View members link for the desired Class to open the Class Members popup.
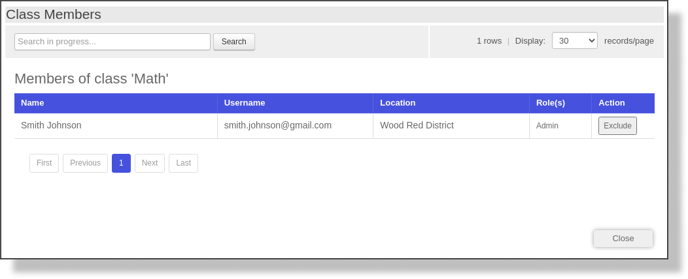
In this screen, you can view the information about Class members and exclude members from the Class.
Assigning Class Administrators
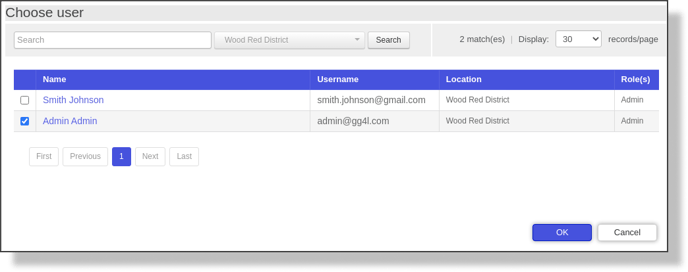
You can add or edit the Administrator for the Class by clicking the Assign Administrator link. If no Administrator has been assigned, the number will show 0, if there is one or more Administrators assigned the corresponding number will be displayed. Clicking the link opens the Choose User screen with all the members assigned to the Class, next to the Administrators the checkbox is added. If you need to assign more Administrators or unassign the Administrator, everything can be done with the help of checkboxes.
Deleting Classes
To delete one or more Classes:
- Check the checkbox(es) that correspond to the Class(es) that you want to delete. Click the Delete link (X icon).

- The Confirm popup will appear.

- Click OK to confirm the action or CANCEL to dismiss deleting and return to the Classes screen.