.svg)
Learn how to manage ID Cards in your class.
Audience: Teacher, District Admin
In this article
Create additional (extra) ID Cards
The GG4L ID Card is designed to help younger students easily access digital resources through the School Passport. Classroom teachers have the capabilities and responsibility of preparing and distributing the QR code-enabled ID cards to their students.
Requirements
Activated login with ID Cards for your district.
Overview
Once login with ID Cards is activated for your school, the ID Cards Administrative tool displays on your School Passport main page.
The homepage displays all classes and students that have been linked.
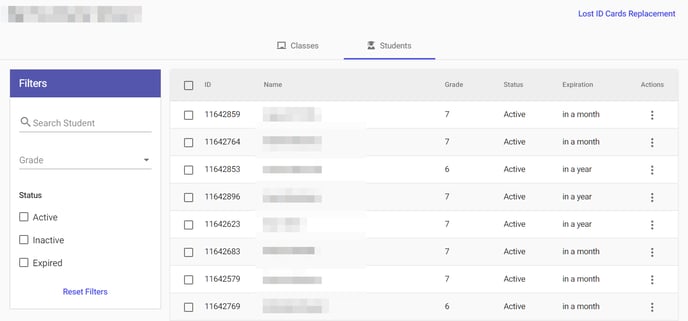
- Grades (for District Admins): If you teach students of different grades, you can activate the ID cards for each grade separately.
- Classes: If you teach different students in different classes, you can activate the ID cards for each class separately.
- Students: If you teach the same students in multiple courses or classes, you can use the student tab to activate the GG4L ID cards for each student separately.
Tip: You can filter the lists by any column.
Generate ID Cards
To generate ID cards for a user or group of users, do the following:
- Select the entity tab that corresponds to the group for which you wish to generate ID Cards: Grade, Class, or navigate to the Schools page.
- Click three dots next to the required student group or school, and select Activate.
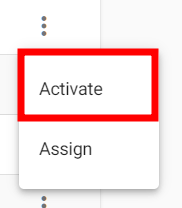
- (If multiple students) Select student records and click the Activate Selected.

- Choose an expiration date for the QR code to remain valid, click Reset, and confirm your selection.
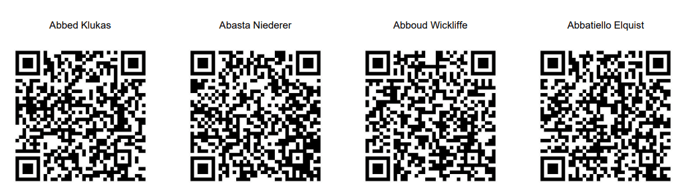
- A PDF file with an ID Card(s) will be downloaded immediately into the Downloads folder.
Reset existing ID Card
Replacement of the lost ID Card can be achieved in two ways. You can reset the current ID Card with the new one or assign an additional ID Card. Both functions will achieve the same result – deprecate the old ID Card and assign a new one.
Note: To ensure security, it is not possible to reuse the same ID Card more than once. If an ID Card is lost, it is required to assign a new one.
- Find the required students and do one of the following:
- If one student: Click three dots next to the student`s name, and select Reset.
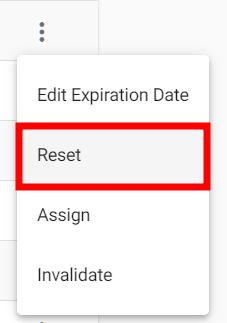
- If multiple students: Select their records and click the Reset Selected.

- If one student: Click three dots next to the student`s name, and select Reset.
- Choose a new expiration date for the QR code to remain valid and click Reset.
- Confirm your selection. A PDF file with a new ID Card(s) will be downloaded immediately into the Downloads folder.
Create additional (extra) ID Cards
Extra cards are a handy solution for students to quickly access the School Passport. Extra cards are ID Cards that are not yet assigned to any specific user. These cards can be printed and kept as backups for future use. For example, if a student loses their ID Card, you can easily assign them an additional ID Card for access without the need to print it during the lesson.
To create additional ID Card:
- Go to the required school.
- Click the Lost ID Cards Replacement on the top right.

- Specify the desired number of unique additional cards you would like to generate and click Download. A PDF file with an additional ID Card(s) will be downloaded immediately into the Downloads folder.
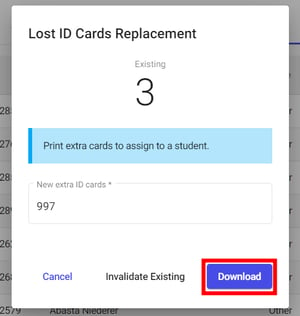
- A PDF file with unassigned ID Card(s) will be downloaded immediately into the Downloads folder.

Assign new ID Card
Note: Assigning a new QR code requires to printing of additional cards.
- In the list, find the desired student.
- Click three-dots next to the student name, and select Assign.
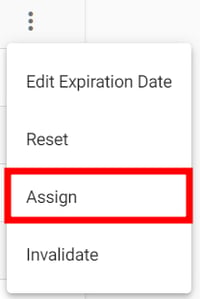
- Get the QR code as close as possible to the camera on your device. It will be scanned immediately.
Once scanned, the extra card will be assigned to a student instead of an old ID Card.
Change Expiration Time
- Find the required students and do one of the following:
- For one user: Click three-dots next to the user's name, and select Edit Expiration Date.
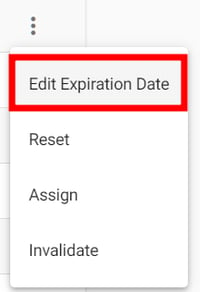
- For multiple users: Select their records and click the Edit Expiration Date of Selected.

- For one user: Click three-dots next to the user's name, and select Edit Expiration Date.
- Choose a new expiration date for the QR code to remain valid and click Save.
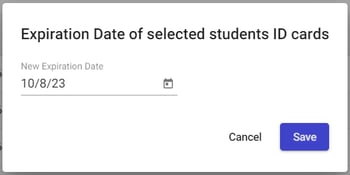
Once confirmed, the validity time of the ID Card will be extended