You will learn how to plan your synchronization to start automatically after a pre-determined interval.
In this article
You can set up a sync schedule to sync data automatically from your SIS/data sourse to the SchoolDay at regular intervals. When you set up a schedule, updates made to the data source appear in your SchoolDay environment without requiring a manual sync.
You can set a schedule to sync data monthly, weekly, or daily. Or, you can manually sync data, by clicking the Run Sync button on the application page to start the sync process.
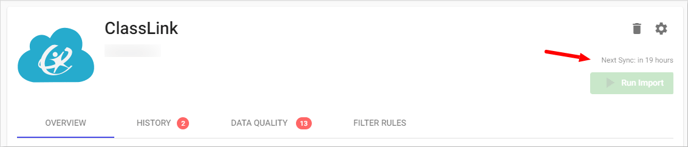
When you set up the sync schedule, the date for the next sync will show on the application page.
Note:
If you have more than one data sync app (Import, Export, or 2-way sync), configure the sync schedule in the following order:
- Import apps (e.g., Skyward, FACTS, Active Directory)
- 2-way sync apps (e.g., Google Classroom, PowerSchool)
- Export applications (e.g., Lightspeed, CrisisGo, FinalSite)
When setting up your Sync Schedule, give each app enough time to complete before the next one starts. This helps avoid delays and data issues.
Schedule types
-
Full Sync Schedule: Pull all the data from the data source and sync it to SchoolDay. This ensures all data is up to date, but it can take longer, especially with large datasets.
-
Incremental Sync Schedule: (PowerSchool only) Sync only updates the data that have changed since the last sync. This reduces the load on both systems by syncing only new or modified data, rather than reprocessing everything.
Create a full sync schedule
- Under the Home page, select the desired Import or 2-way Sync app.
- Go to the Settings > Schedule tab.
- Select Sync Schedule. If PowerSchool, select Full Sync Schedule.

- Set sync frequency and time.
- (Optional) Choose the end date for automatic synchronization. Once this date is reached, data sync will be stopped.
- Click Save.
Create an incremental sync schedule
- Under the Home page, select PowerSchool app.
- Go to the Settings > Schedule tab.
- Select Incremental Sync Schedule.

- Set sync frequency and time.
- (Optional) Choose the end date for automatic synchronization. Once this date is reached, data sync will be stopped.
- Click Save.