.svg)
Simplify access to the School Passport with QR code authentification.
Audience: Primary District Admin, Student
In this article
School Passport provides students and teachers with access to educational applications simply by holding up a physical badge with a QR code (ID Card) to the computer's webcam instead of typing in the credentials.
QR codes are specifically associated with students’ and teachers' data, so any changes in their school assignments and class data will not affect the QR Code.
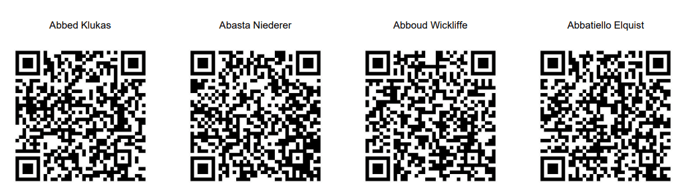
Here`s an example of an ID Card.

Requirements
Computers/devices with webcams.
Set up ID Cards
Before using log in via QR codes, you should activate this feature, and specify the students who will be utilizing it.
Step 1: Activate SSO with ID Card in School Passport
- Log in to the School Passport and go to the Connect.
- Go to the Administration > Login Methods.
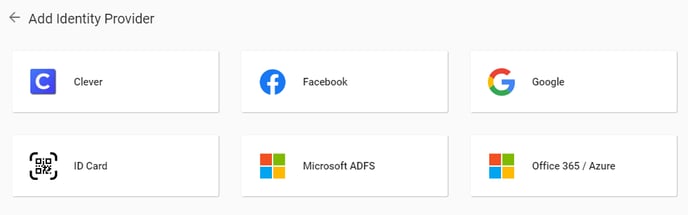
- Click Add new IdP on the bottom right and choose ID Card.
- Click Activate.
Now all users in the organization will be able to log in using the login with QR codes on the login page.
.png?width=344&height=778&name=Login%20with%20ID%20Card%20(QR%20Code).png)
Furthermore, District Admins and teachers are granted access to the QR code administration which allows them to efficiently manage ID Cards. The ID card administration will be prominently displayed on their School Passport main page.

Step 2: Select schools
To enable the use of ID cards, you need to choose the schools that will be utilizing them. By default, all schools in your district will be prompted to utilize ID cards.
- Sign in to School Passport as Primary District Admin,
- Go to the QR code Administrative tool.
- On the Schools page, click the Schools Activation at the top right corner.

- Select one or more schools you want to use ID Cards login.
Step 3: Generate ID Cards
To generate ID cards for a user or group of users, do the following:
- In the ID card administration, choose the desired school.
- On the school`s page:
- To activate ID cards for each grade separately, go to the Grades and select the desired grade.
- To activate ID cards for each class separately, go to the Class and select the desired class.
- To activate ID cards for different students, go to the Students.
- Choose students.
- (If single student) Click three dots next to the student, and select Activate.

- (If multiple students) Click Activate Selected on the top.
- Choose an expiration date for the QR code to remain valid, click Reset, and confirm your selection.
- A PDF file with an ID Card(s) will be downloaded immediately into the Downloads folder.
Once the ID cards have been downloaded, they should be printed and distributed to the students.
Note:
For more details about how District Admins and teachers work with ID cards, refer to ID Cards Management.
Sign in with ID Cards
To simplify the sign-in process for students, classroom teachers prepare and distribute ID cards with QR codes to each student. These ID cards contain a unique QR code allowing students to quickly sign-in to the School Passport system.
If the school has been configured for GG4L ID card SSO, this option is added to the login page.
- Navigate to the School Passport portal and search for your organization.
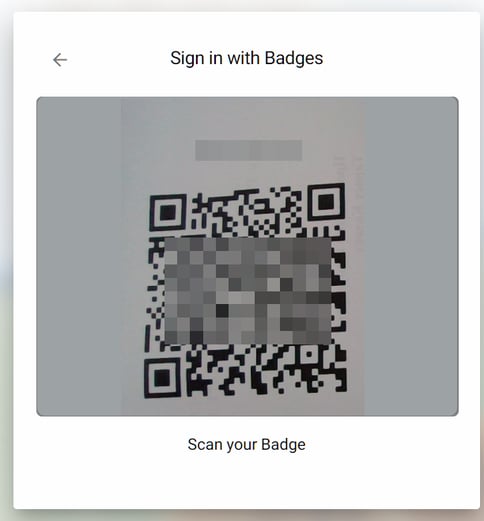
- Click Sign in with ID Card.
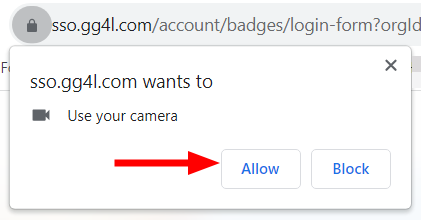
- (Optional) If you are denied the camera permissions, grant to access the camera on your device to scan the unique QR code on your ID card.
- Point your device's camera as close as possible to the QR code. The code will be scanned immediately.
Related articles
- ID Cards Management (for teachers and District Admins)