.svg)
This page shows you how to add Qwiklabs content to Google Classroom class shells by using School Passport.
Your organization can export specific Qwiklabs content to your Google Classroom class shells. To export this content, a School Passport Primary District Admin can follow these steps:
- Step 1. Create a new Google Classroom shell
- Step 2. Map courses in an app
- Step 3. Create a new Qwiklabs session
- Step 4. Export new Qwiklabs session links to Google Classroom shell
Step 1. Create a new Google Classroom shell
- Go to classroom.google.com and click Sign In. Use the same account with which you previously set up integration with Qwiklabs.
- At the top of the Classes page, click Add
> Create class.
- Enter the class name.
- Click Create.

Step 2. Map courses in an app
- Sign in to your School Passport account. For more information, see Accessing School Passport Platform.
- Navigate to the Connect module.
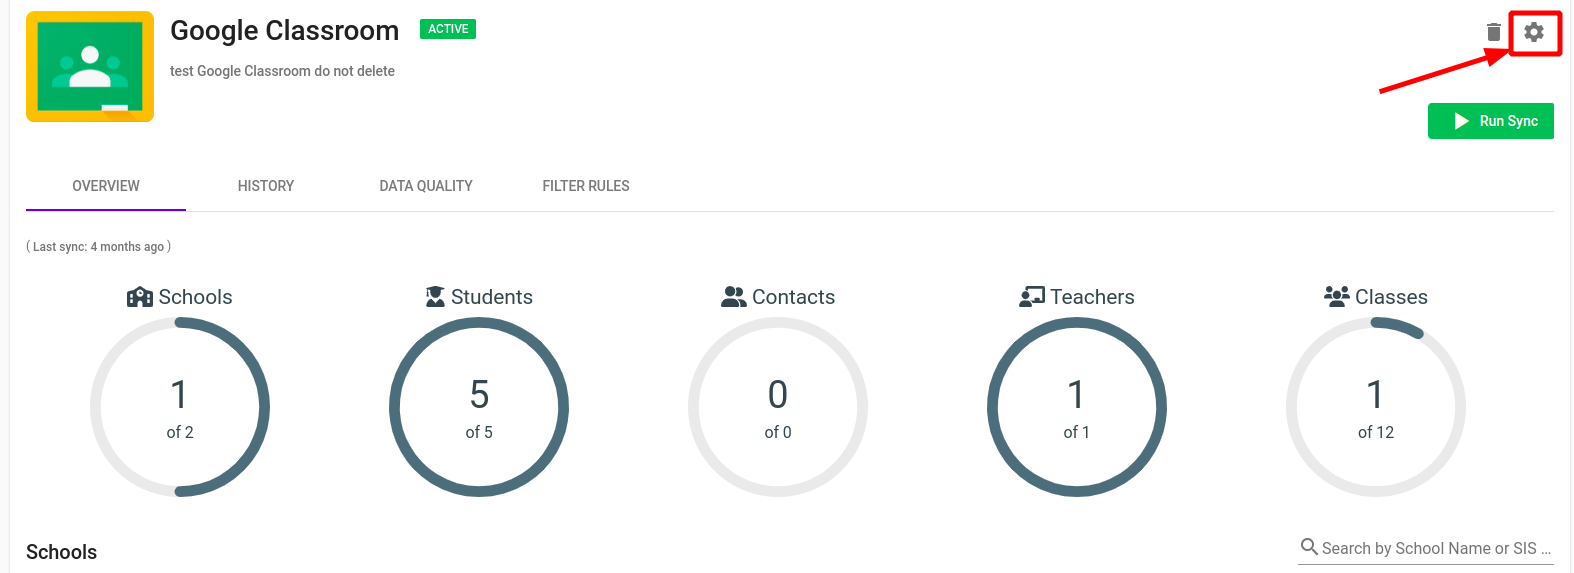
- On the Home page find the Google Classroom app.
- Click
 Settings.
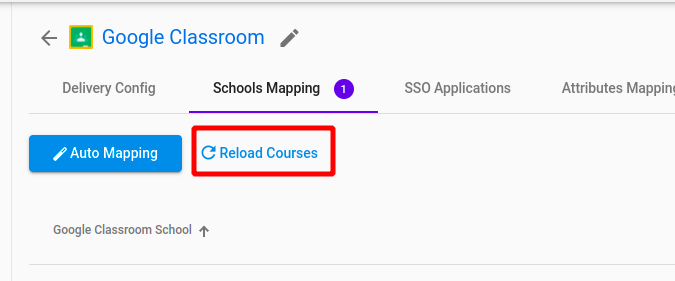
 - Go to the Schools Mapping tab and click Reload courses.
- Click on the GG4L School field next to the Google Classroom class shell(s) and pick the name of your organization (school/ district name) in the dropdown list.

- After you are done with the mapping, click Save at the bottom of the page to complete the School Mapping and leave this page.

- Click the Run Sync and wait till the sync finishes.


Step 3. Create a new Qwiklabs session
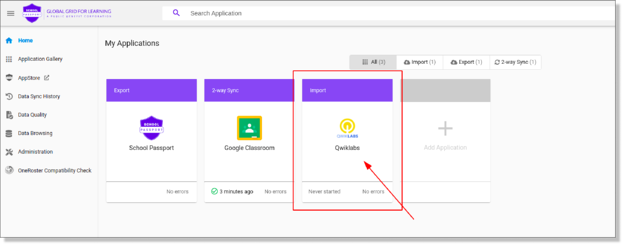
- Navigate to the Home page and find the Qwiklabs app.
- Click Settings.
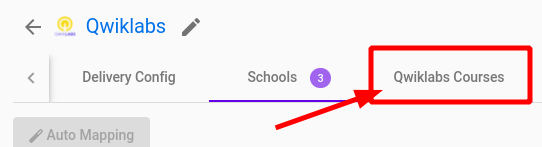
- Go to the Qwiklabs Courses tab to add more Qwiklabs content if needed.
- On the Enter Course title field, select Google IT Support Professional Certificate and click Save.
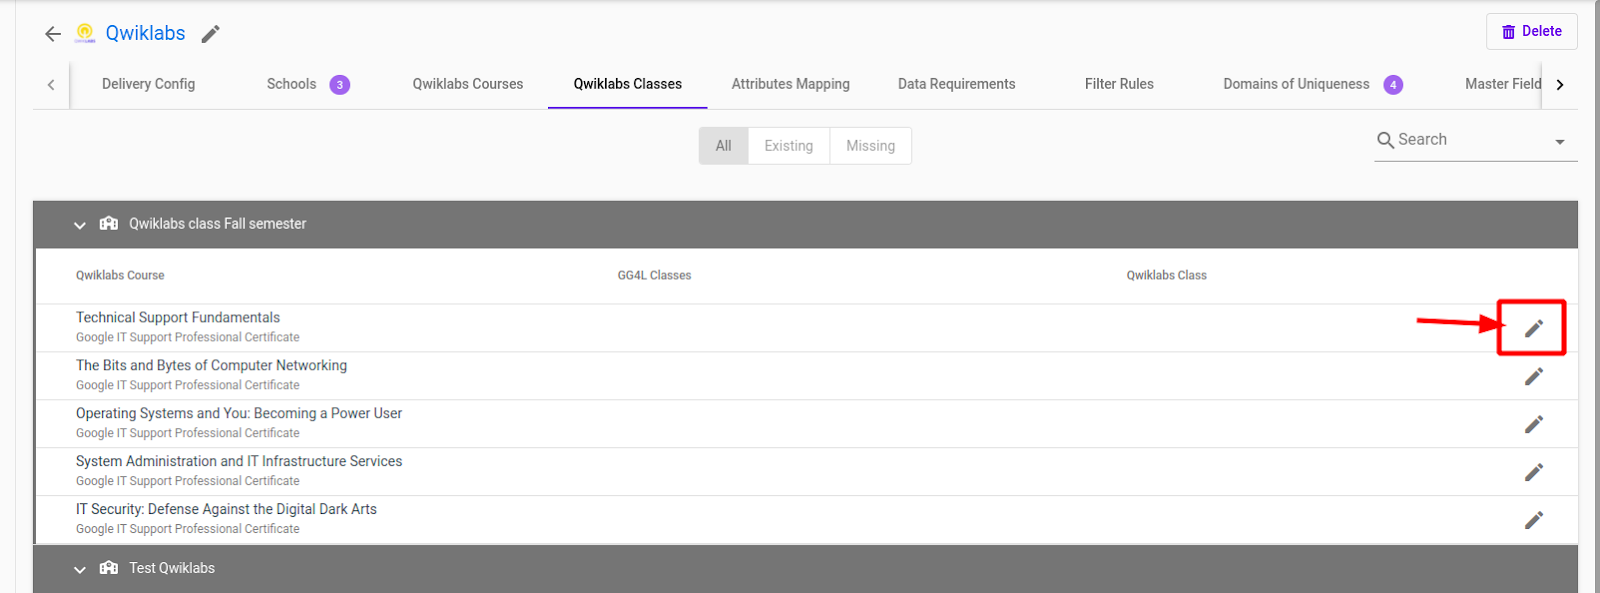
- Go to the Qwiklabs Classes tab.
- To create Qwiklabs sessions for the new class shell, click
 Edit and then:
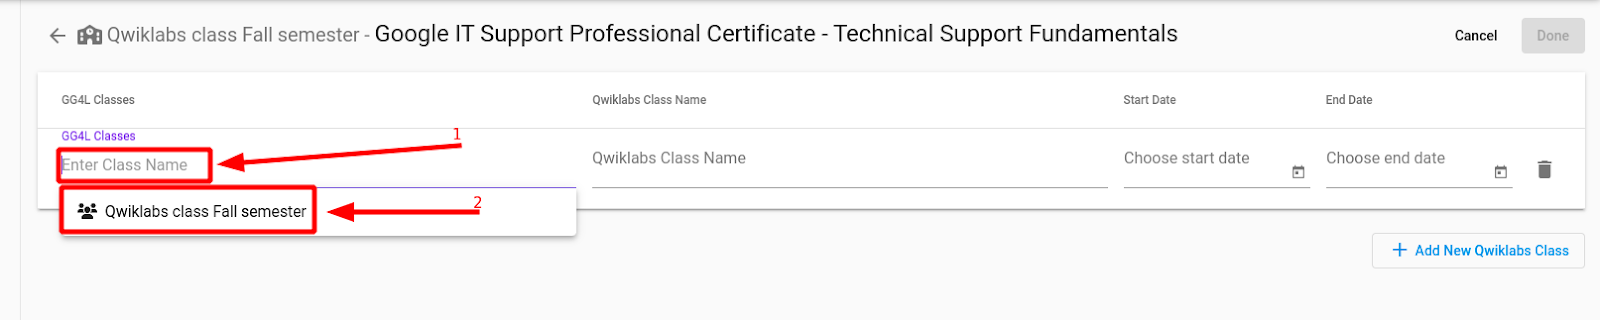
- Click Enter Class name and type the name of the previously created Google Classrooms or choose one from the list that appears in the dropdown.
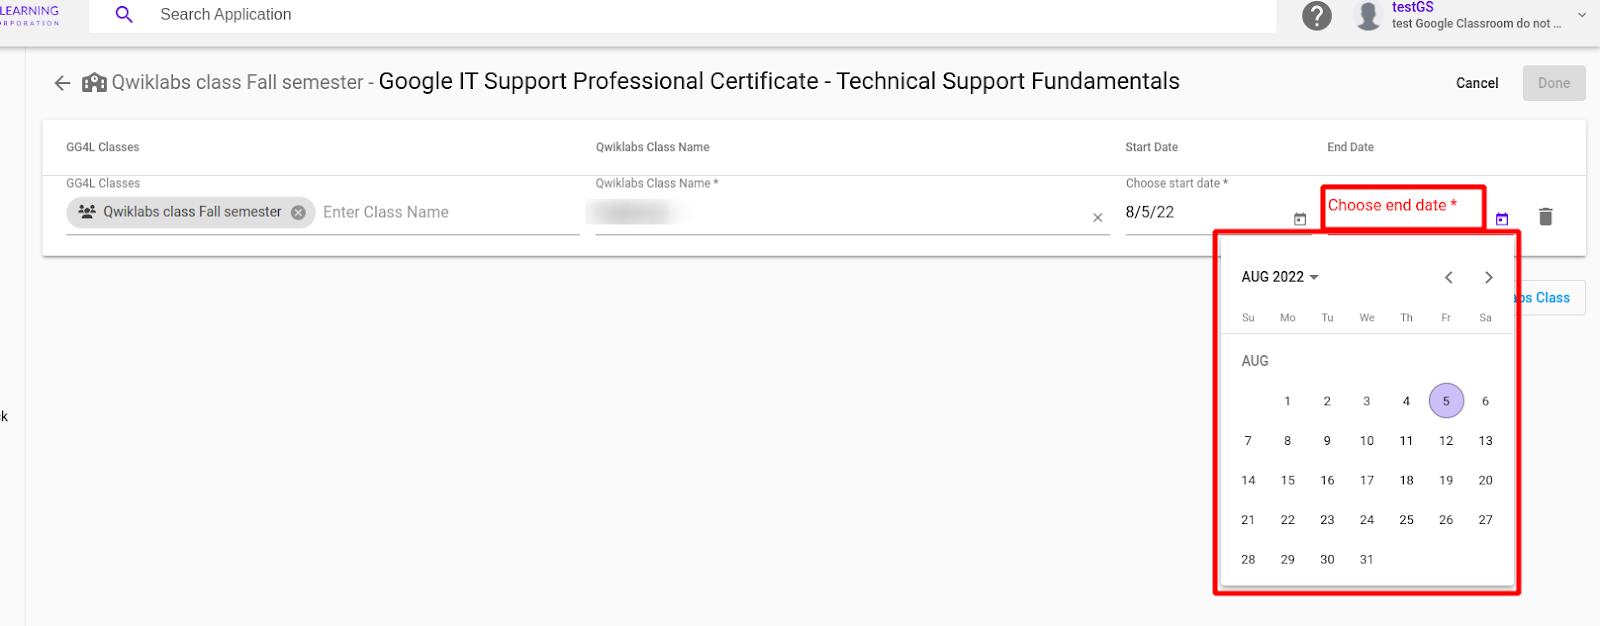
- To add the estimated end date of the course, click Choose End date and select a date. Note: the Qwiklabs links will be available to the students even after the set End date.
- Optional. To add a class name, click Qwiklabs class name and enter a name or click one from the list that appears when you enter text.
Note: The Start date is set to the current date by default.
- Click Enter Class name and type the name of the previously created Google Classrooms or choose one from the list that appears in the dropdown.
- On the dialog that appears, click Generate.
- Browse the final review of the automatically generated data and click Done and leave this page.
- On the Qwiklabs Classes tab, review the data, click Save and leave this page.
- On the Qwiklabs app overview page, click Run Import and wait for the sync to finish.


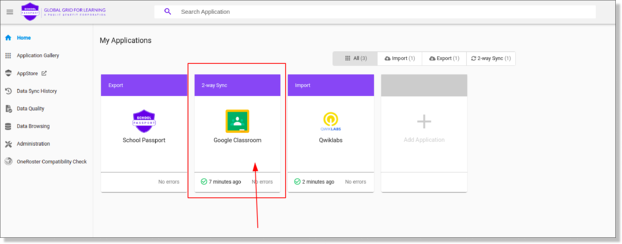
Step 4. Export new Qwiklabs session links to Google Classroom shell
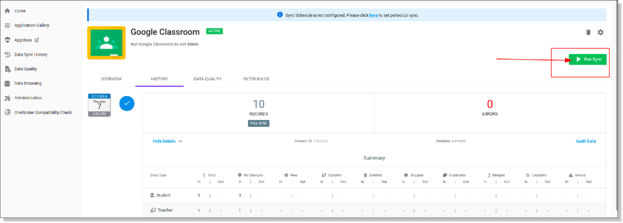
- Navigate to the Home page and find the Google Classroom app.
- Click Run Sync.
- After the sync finishes go to your Google Classroom account and select the same shell which you created in Google Classroom in step 1.
- Click on one of the assignments.
- Go to the Instructions tab and select the Sign-in link.

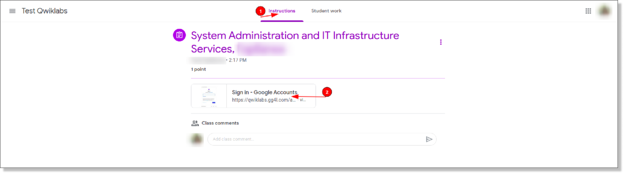
After processing the SSO Request, your Qwiklabs class is ready for students to start studying.
Note. During the first access, unlock the materials for the students by clicking Activate All.
